
The trick to making it through a long, cold winter is soup. And the trick to delicious soup is homemade broth. This may sound like a lot of work; I promise it’s not. Making your own broth is easy and economical. Plus it makes your whole home smell nice!
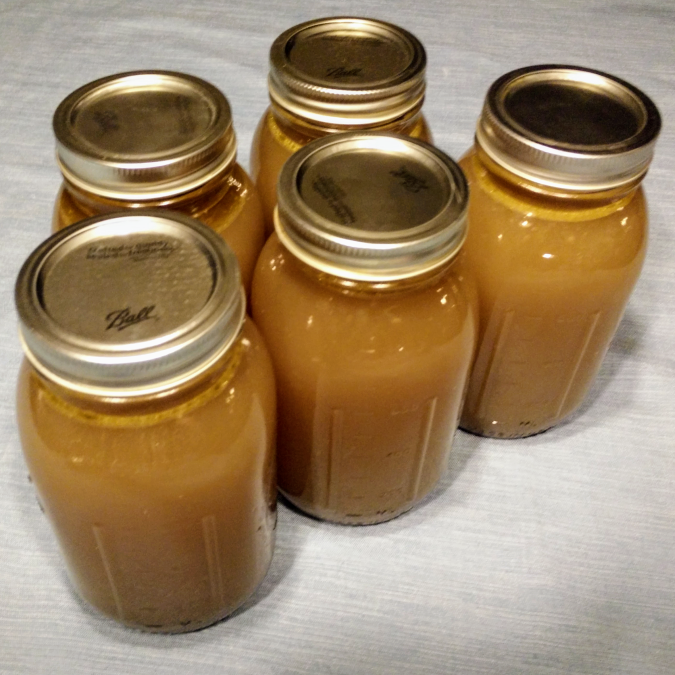 With a big saucepan, you can make a lot of broth… those are quart jars!
Before you can make broth, you need to collect some trimmings. The easiest way to do so is to keep a saucepan in the freezer. Any time you use onions or garlic, put the papers and stumps into the saucepan. Do the same with the peels from carrots and sweet potatoes, and the seeds and stems from peppers. Have a few leftover tomato slices after making a sandwich? Throw them into the saucepan. Are those last mushrooms looking sad? Saucepan. Not sure what to do with the tiny stalks in the middle of the celery? Saucepan. Squash rinds? Saucepan.
Different vegetables contribute different flavors to the broth. Hot peppers will make the broth spicy, while mushrooms make it “beefy.” That said, it’s not necessary to worry about your exact ratio of onions to carrots; it’ll all come together in the end. The only vegetables to avoid are brassica – broccoli, cauliflower, kale, cabbage, asparagus, etc – which lead to bitter-tasting broth.
A vegetable broth is a fine thing, but there’s no need to stop there1! You know that last chicken thigh that’s covered in frost at the bottom of your freezer, and it’s probably fine, but you’re never going to eat it? Add it to the saucepan. Done with that rotisserie chicken or turkey drumstick? Keep the skin and bones. And have you got any plans for the T-bone after you finish that steak?
Depending on where you live, you may even be able to buy bones at the grocery store or butcher for this very purpose2. You can throw these raw bones straight into the broth… or, for extra flavor, you can roast them first to caramelize the shreds of meat and fat.
When your saucepan starts to fill up with trimmings, take it out of the freezer, add water to cover most of the trimmings, bring it to a low boil, and put on a movie. The longer you let it boil, the more flavorful and nutritious your broth will be. I usually let mine go for about three hours, stirring every hour or so.
When you feel your broth has boiled for long enough, run it through a sieve, then stick it in the fridge3. You’re done! Broth keeps in the fridge for a few weeks.